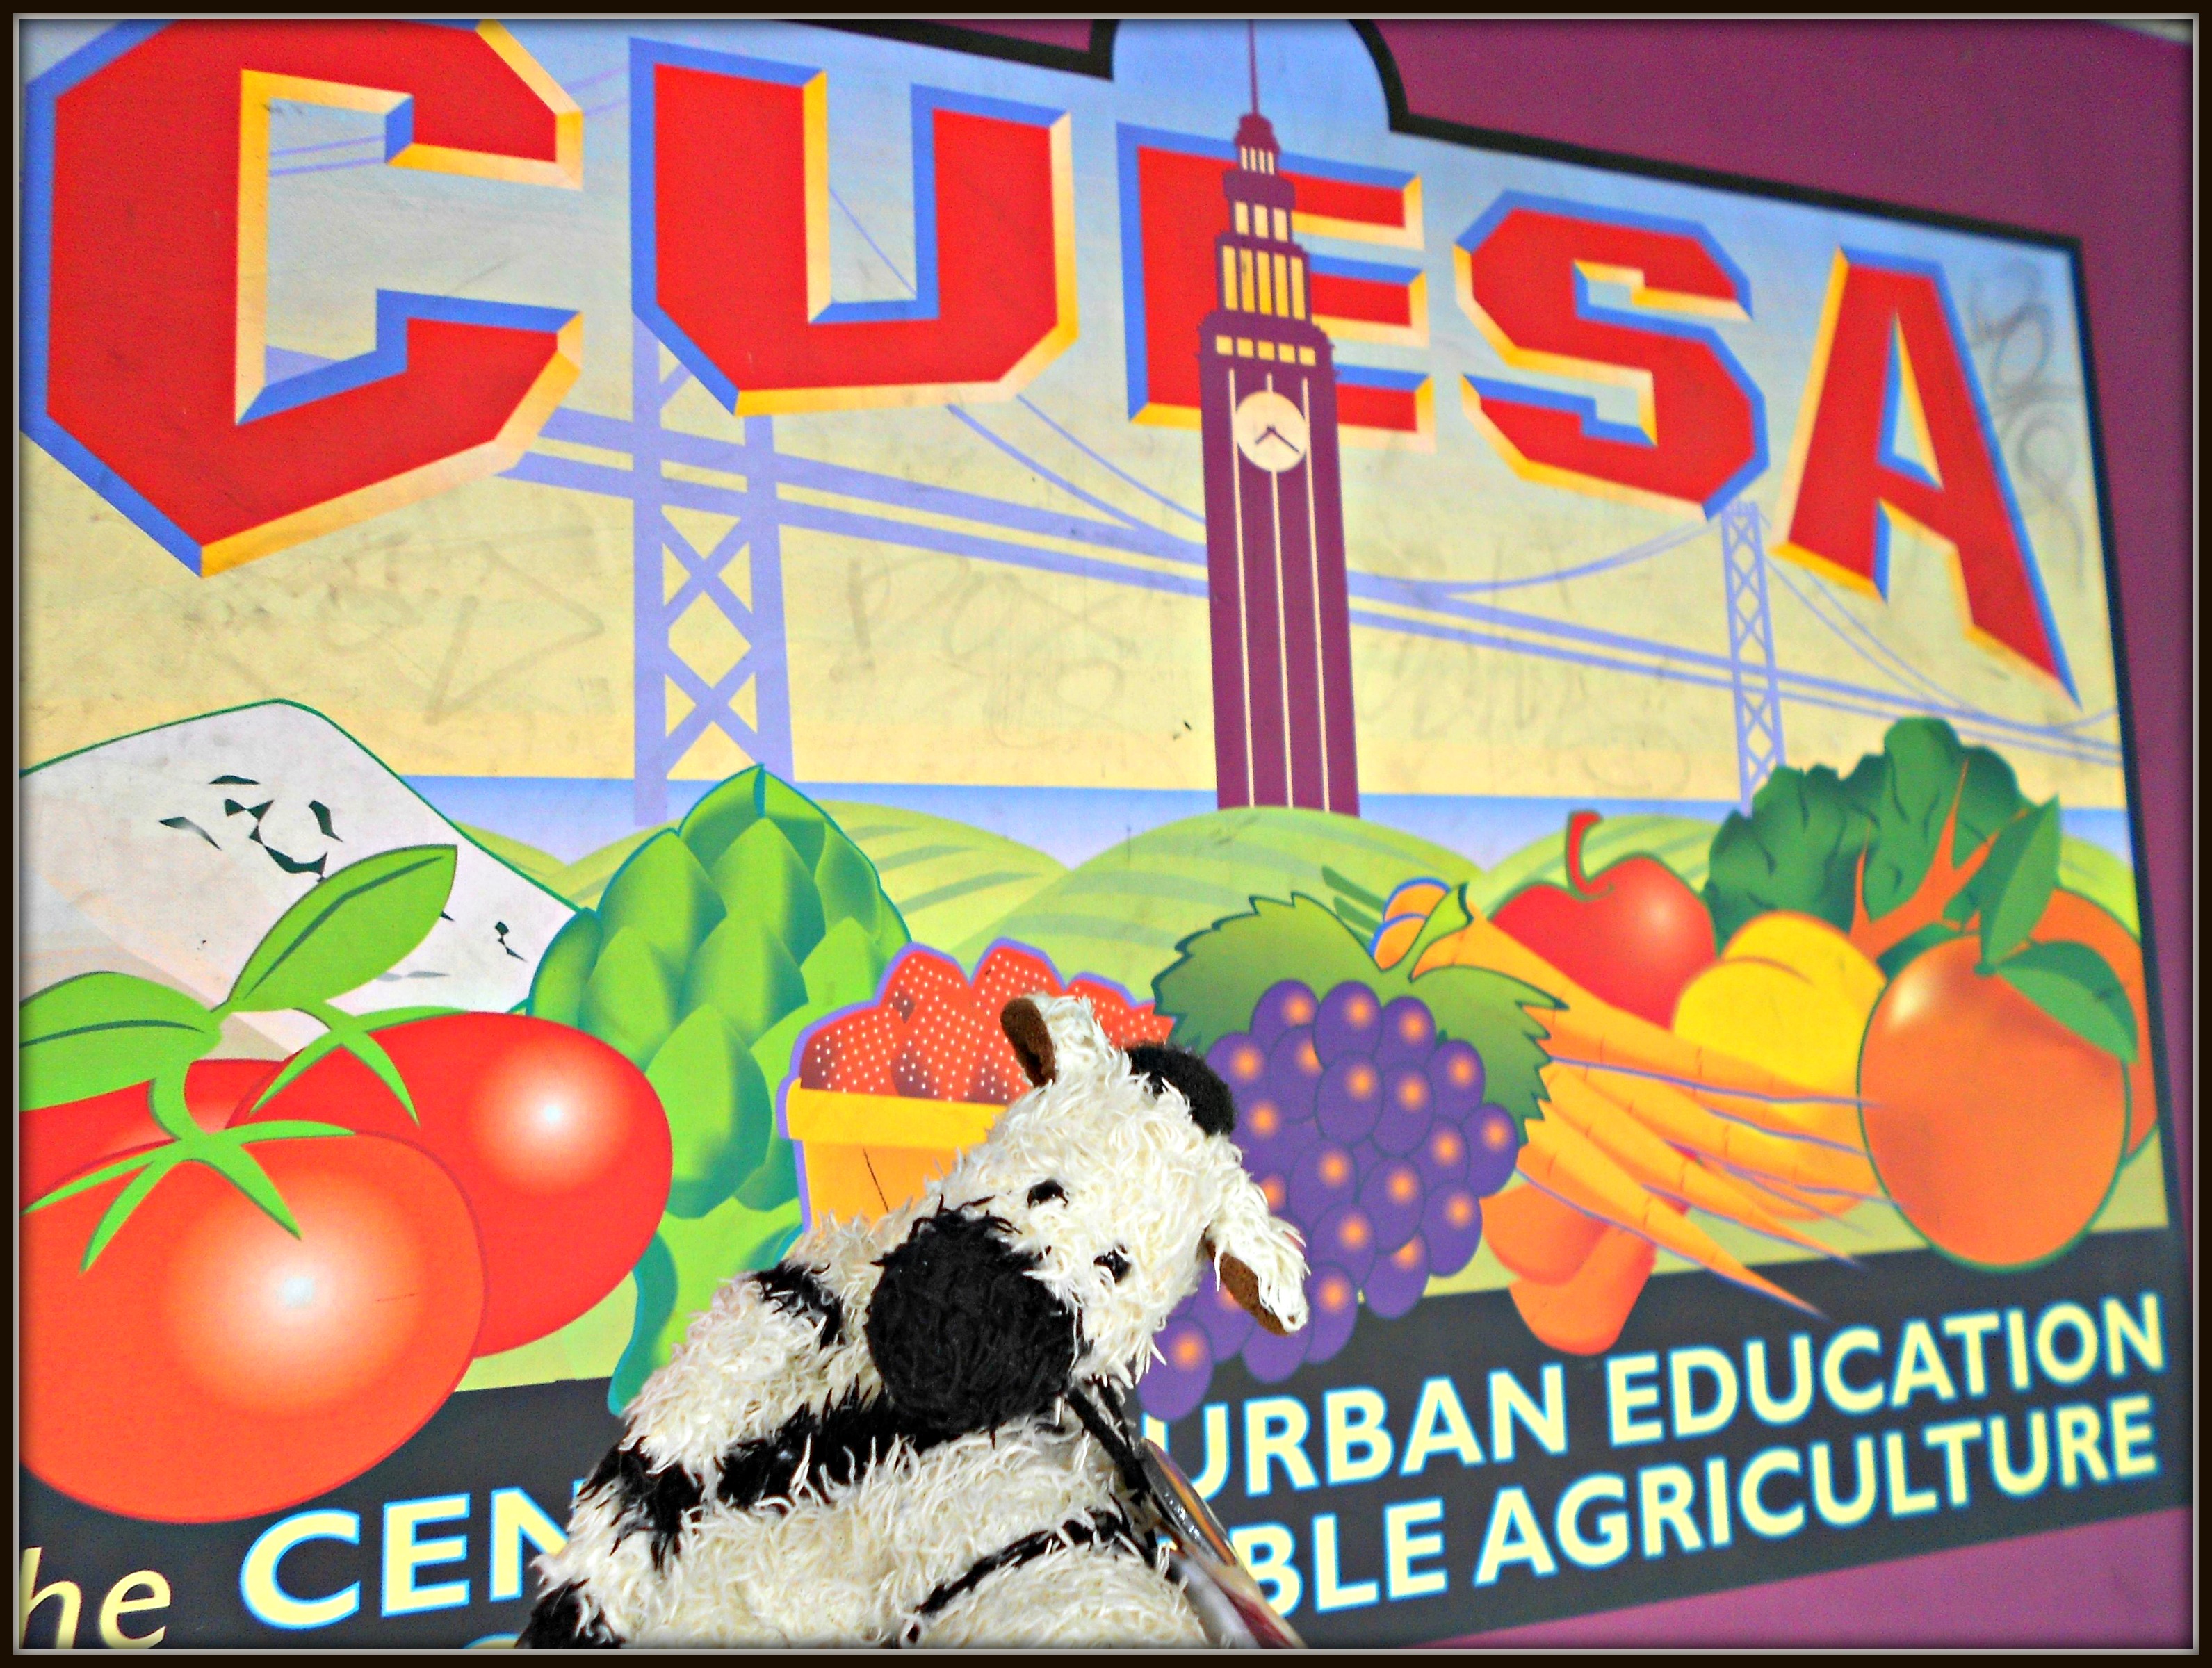
Have you ever noticed that food tastes better than ever when you make it yourself? I learned this from some really savvy 5th graders the other day, when I was invited to a supercool DIY class with CUESA’s Foodwise Kids at the Ferry Plaza Farmer’s Market in San Francisco.
Our kitchen mission: learn to make our own fresh-baked crackers with seasonal market toppings. I was kind of worried about attempting all this with four clumsy hooves, but the kids told me that if they could DIY, then I could DIZ (which means: “Do It, Zebra!).
Sound like fun? If you can’t wait for a taste, you can watch our movie starring the super-chefs at Longfellow Elementary School right NOW!
And now, back to ZeBlog!

CUESA’s market chef, Elianna Friedman, got us off to a great start by explaining how taste works. She said that foods can taste different to different people (or zebras).
That’s why it’s important never to “yuck the yum.” This means that, even if you REALLY do not like a food, someone else might think it’s the greatest ever. If you say “yuck” or “eeeww, disgusting,” that can mess up their yummy experience.
So what do you do instead? Use words that describe what you’re tasting, like bitter, salty, spicy, hot, slippery, chewy or—well, you get the idea.

We also learned that the same food can have a very different taste and texture, depending on how it’s prepared. First, we each tried a raw purple radish, which is a famous springtime root vegetable.
They tasted spicy and peppery with a loud, colorful crunch. Then we sampled some radishes that had been roasted and they tasted really different—much mellower, gentler and sweeter. Chef Elianna said the heat of the oven brings out the radishes’ natural sugars, a process chefs call “caramelization.”
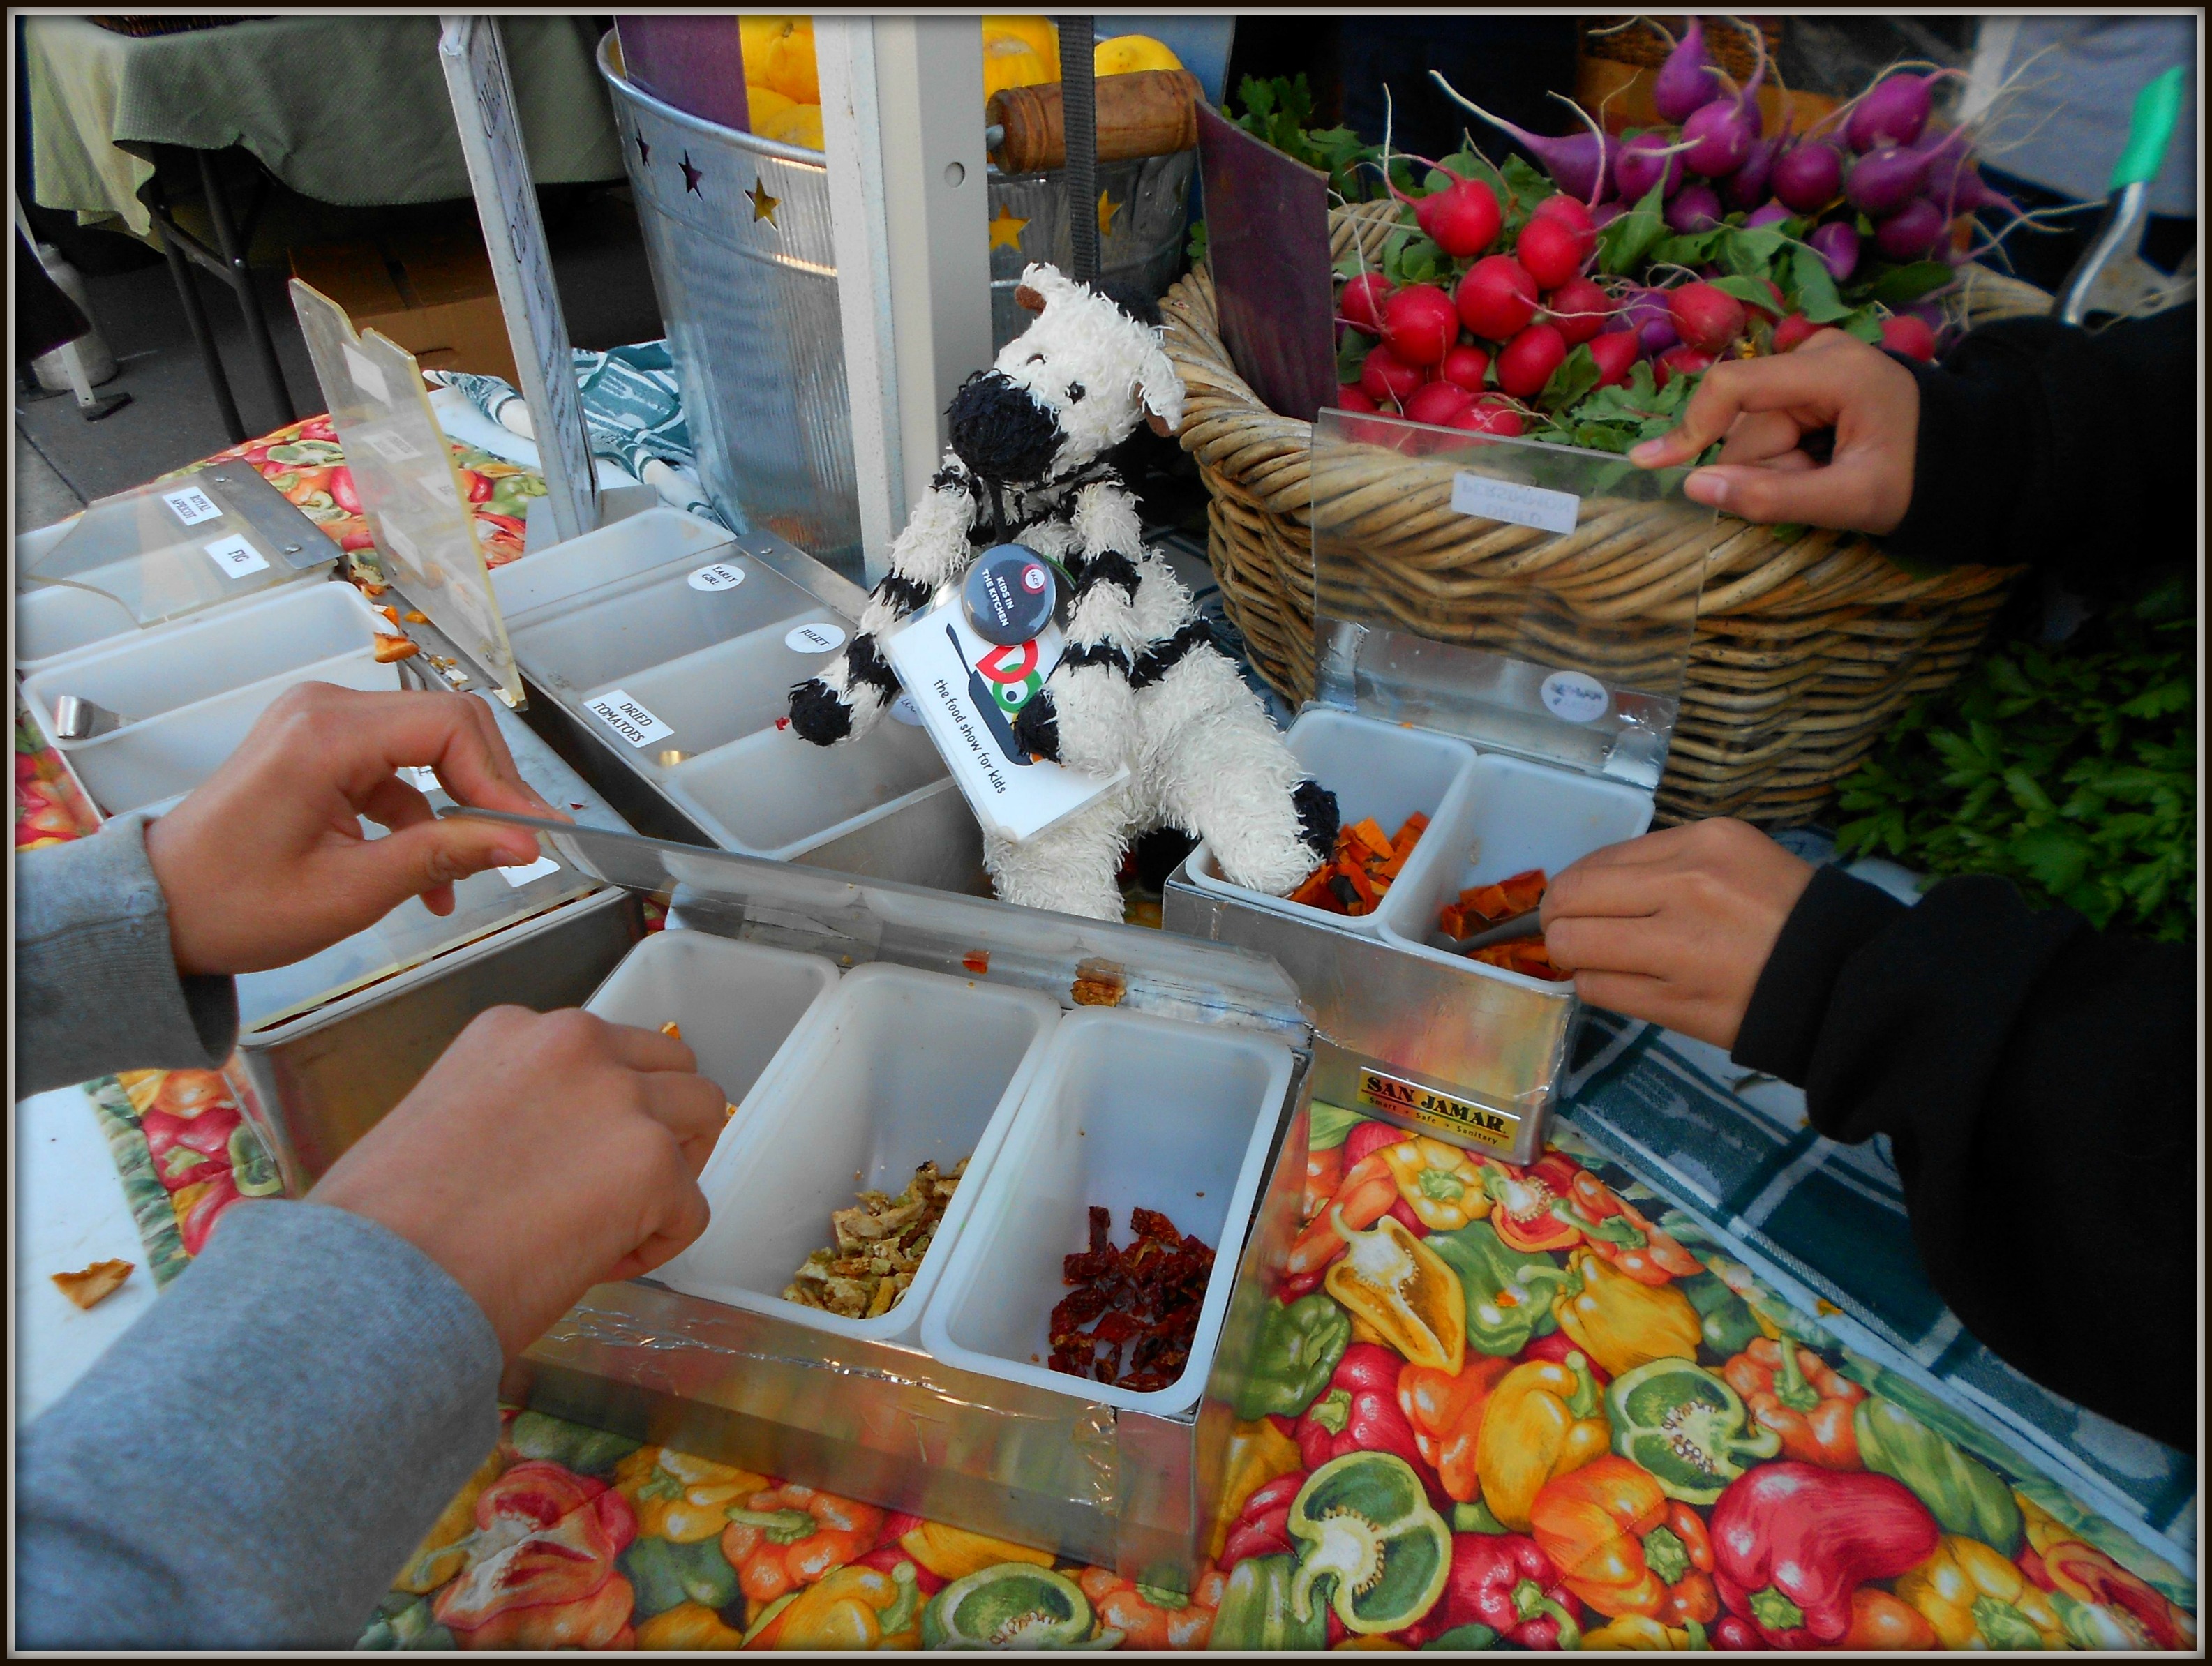
Now that we had our taste buds in action, it was time to go out into the market and choose ingredients for our cracker toppings. I was with the kids on the Blue Team—and we all decided together that we wanted to top homemade crackers with something colorful, sweet, juicy and a bit tangy.
One of the great things about buying your food at the farmers’ market is that you can taste it to see if you like it. You can also ask the farmers questions about how and where something was grown—and find out their favorite way to prepare it.
We tasted lots of fruits and vegetables at the different stalls and finally decided on these ingredients: fresh spinach (colorful), dried Royal apricots (sweet) and lemons (juicy and tangy).
 When we got back to the CUESA kitchen, the first thing we all did was wash our hands (or, in my case, hooves). Then we went to different prep stations to make toppings and crackers.
To make our team’s topping, we cut our spinach and apricots into tiny pieces, then seasoned them with tangy, fresh-squeezed juice from our lemons, plus some olive oil and a little salt.
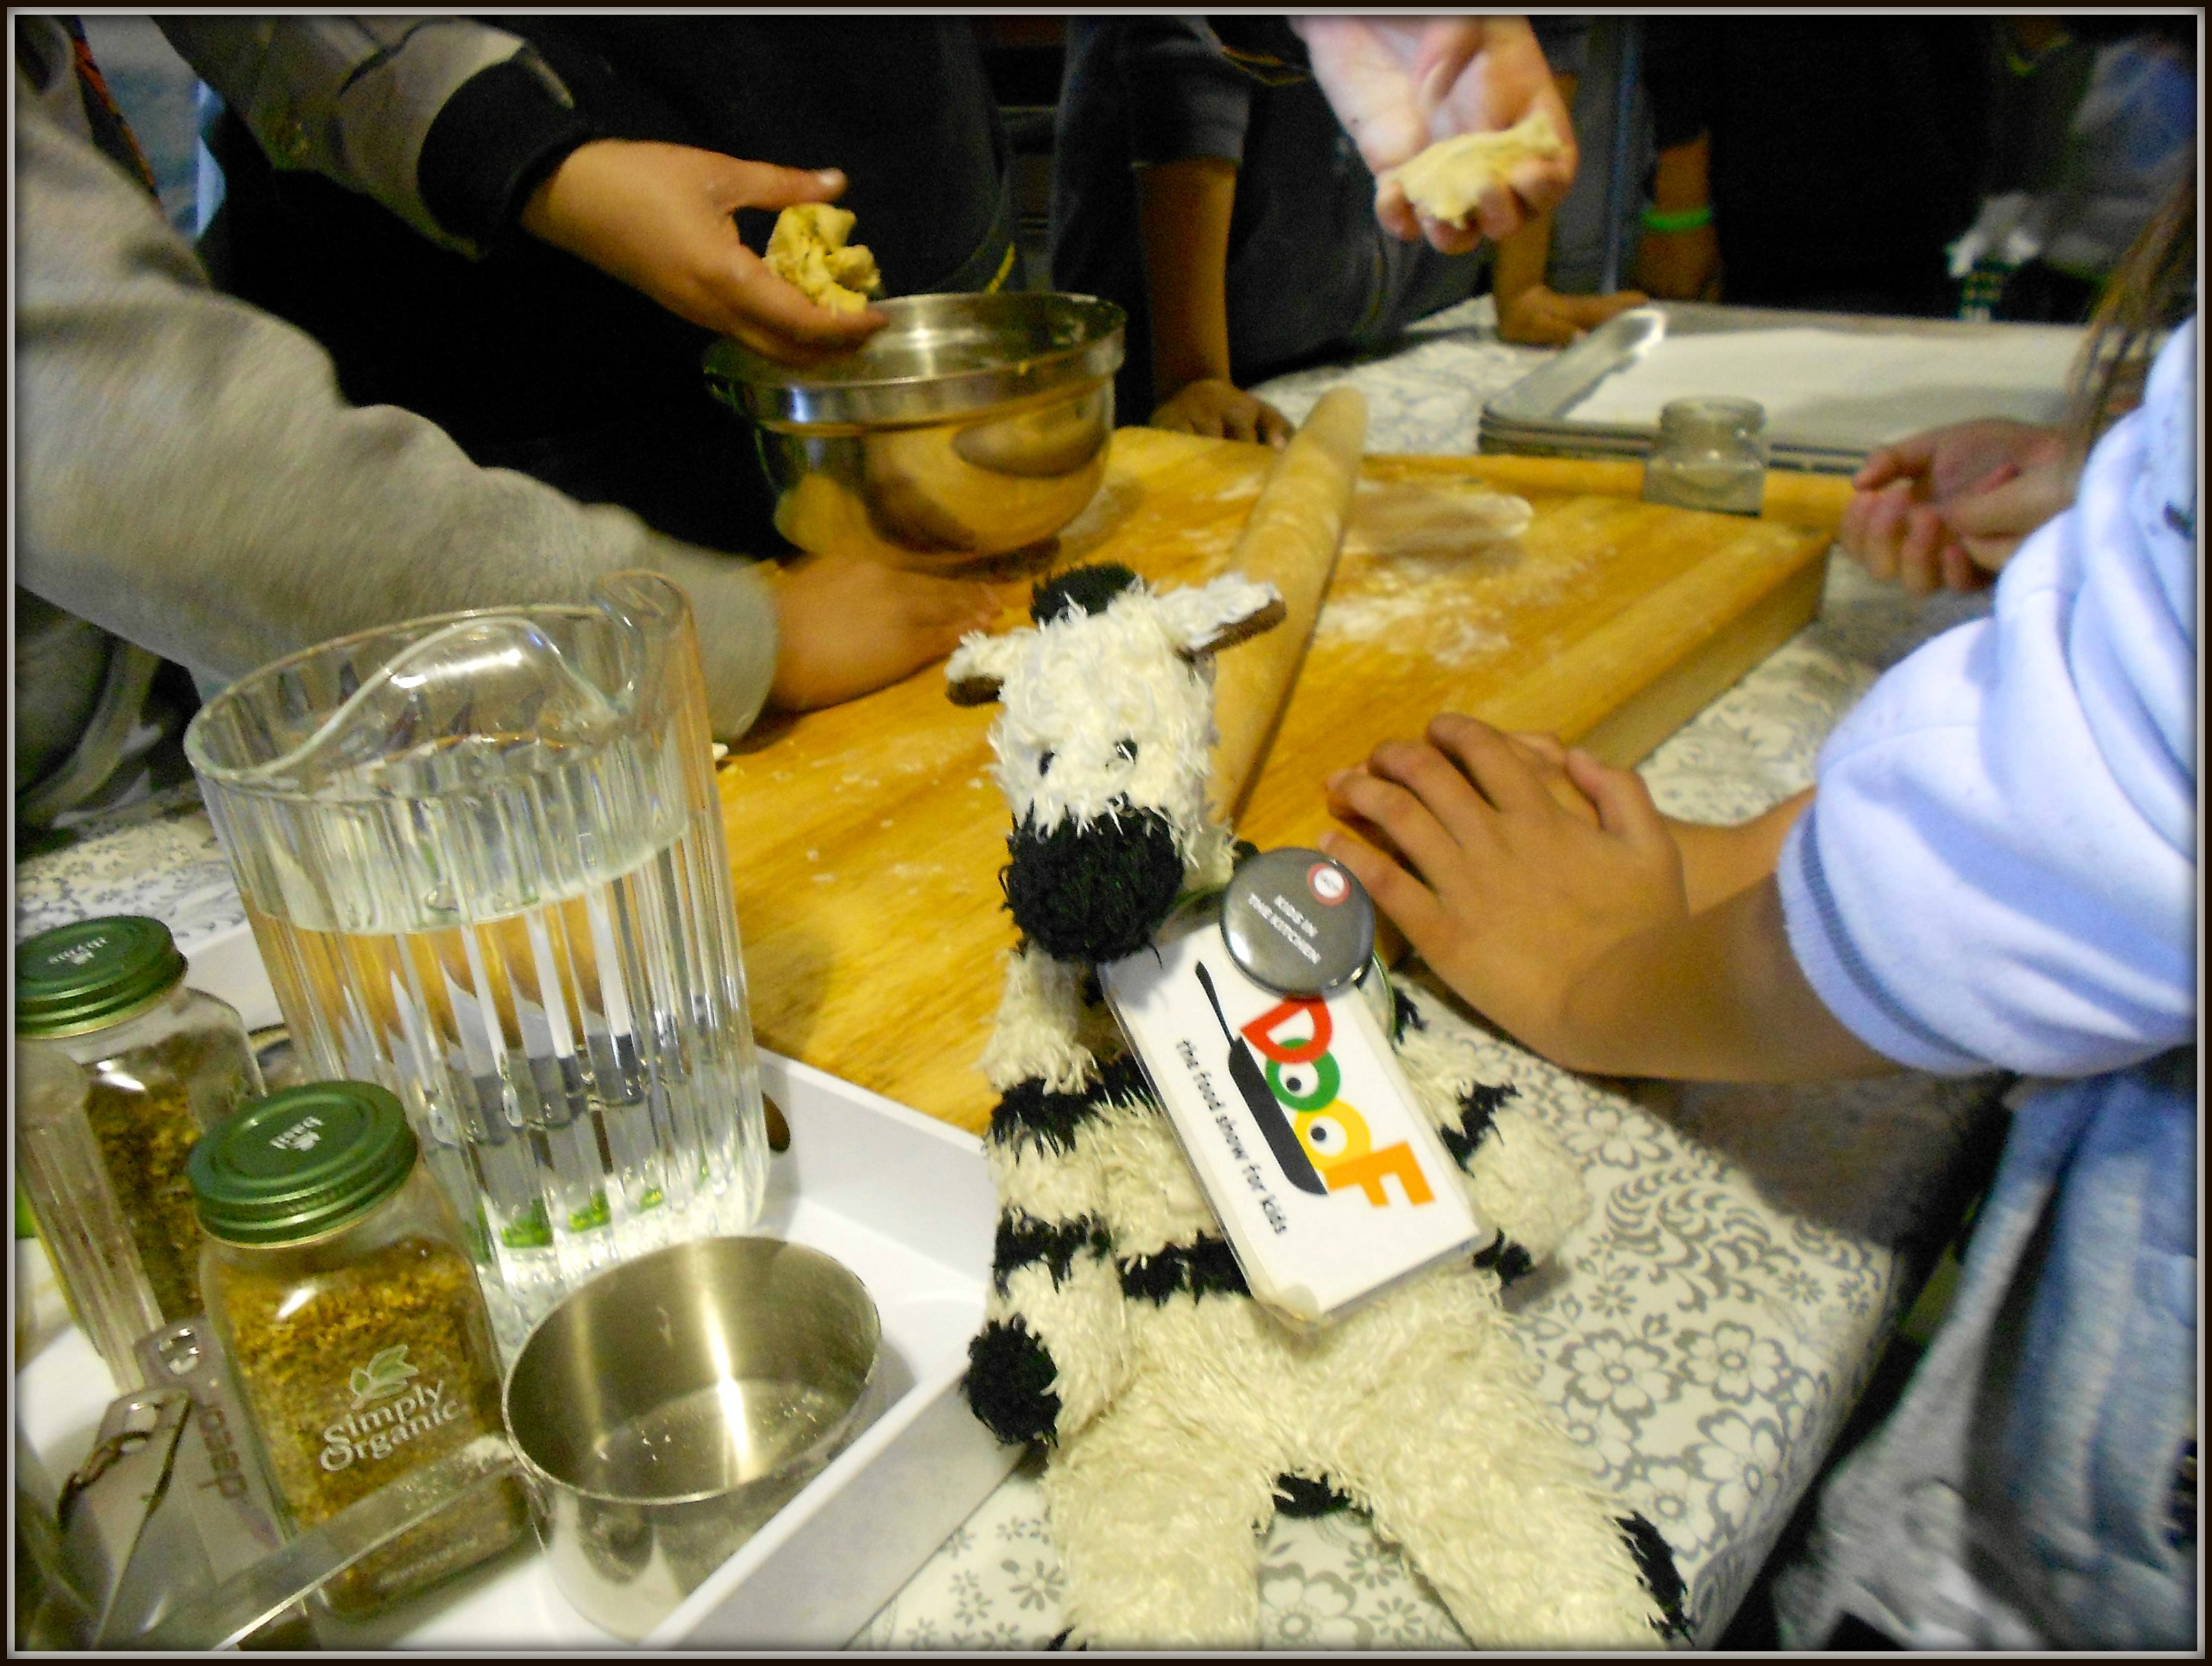
Now it was time for crackers, which none of us had any clue how to make. I figured they just came out of a box from the store. But guess what?
They’re really made of flour, olive oil, salt and herbs that are mixed together to form a dough, then rolled and baked in the oven. And it only takes a few minutes to do!
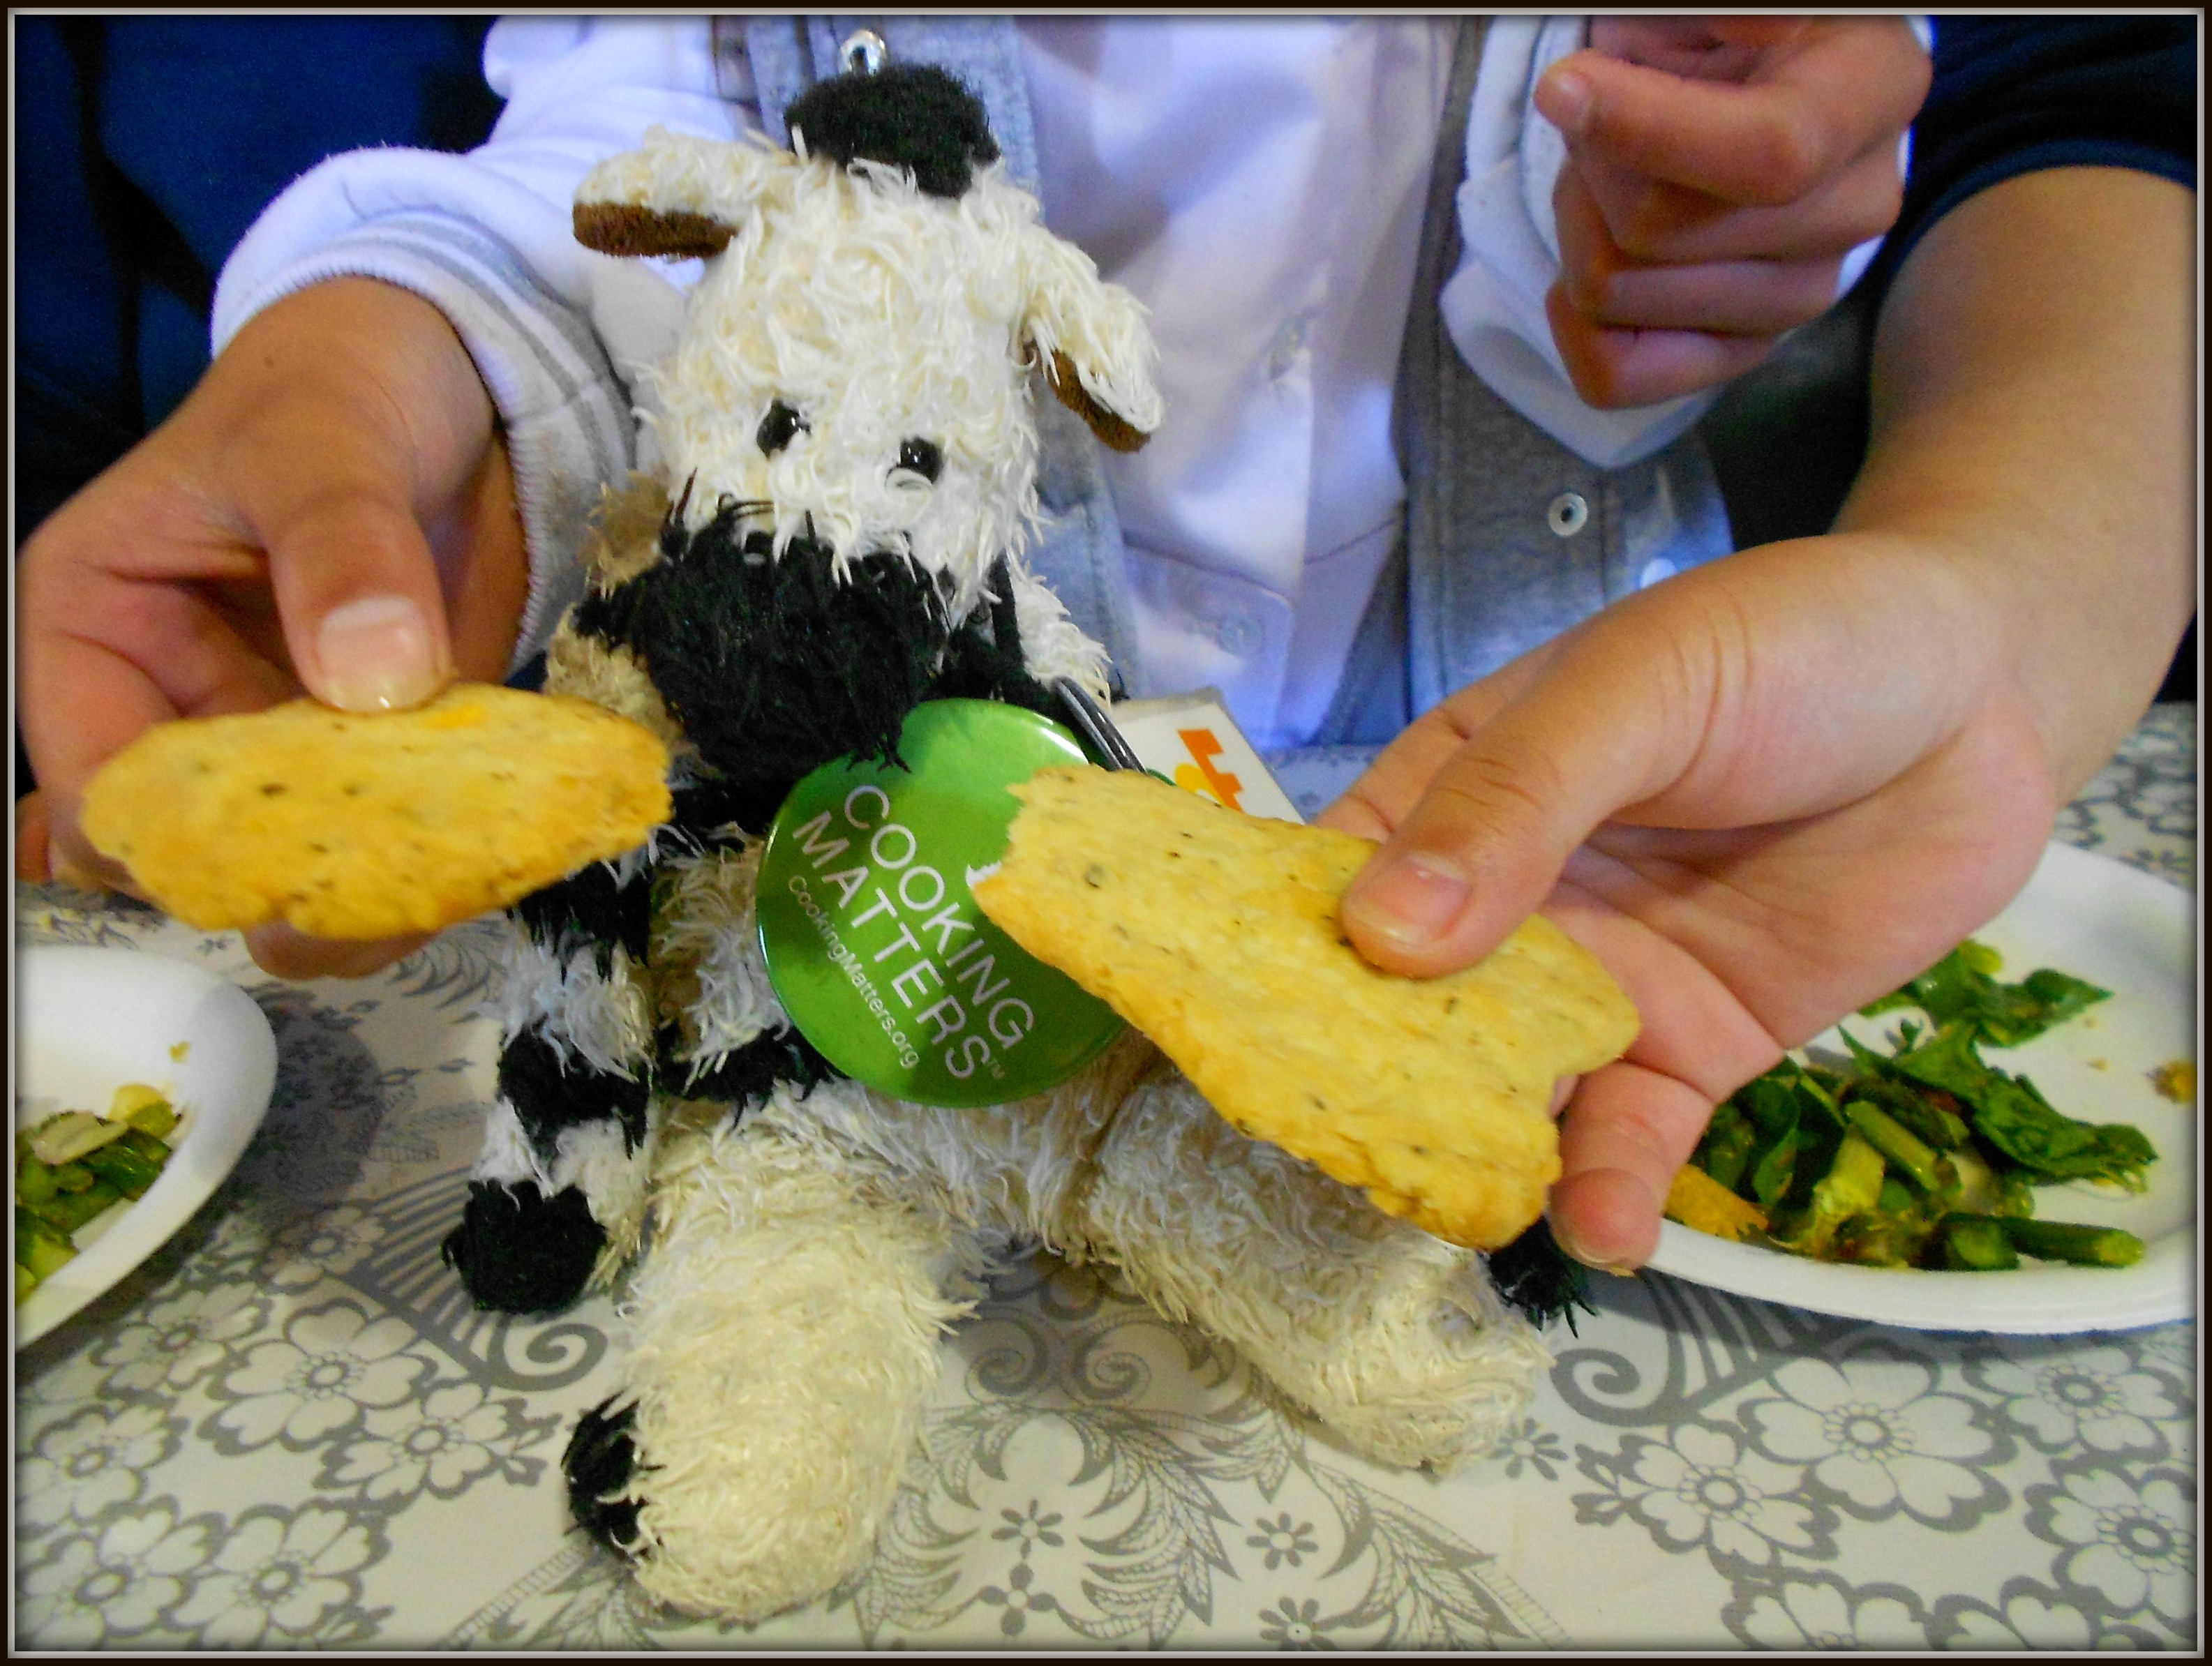
When the crackers came out of the oven, we piled them on big plates next to our bowls of fresh toppings. Everyone got to go through the line and pile whatever we liked on the fresh, warm crackers.
One thing we all really loved was the contrast between the crisp, flaky crackers and bright, colorful fruit-and-veggie toppings.
Everything tasted so awesome that we thought we wouldn’t ever be able to stop eating.
But when the bowls and plate were empty, we realized something wonderful. Now that we know how to make our own crackers and toppings, we can do it whenever we feel like it.
If you’d like to give DIY a try, you’ll find Chef Elianna’s special recipe below.
Have fun going crackers!
RECIPE: CHEF ELIANNA’S AWESOME OLIVE OIL & HERB CRACKERS
Ingredients:
1 cup whole wheat flour (or omit and use 3 cups all-purpose flour if you prefer)
2 cups all-purpose flour
1 teaspoon kosher salt
1 cup warm water
1/3 cup extra virgin olive oil plus extra to lightly coat formed dough
1 teaspoon dried thyme
1 teaspoon dried rosemary
1 teaspoon dried basil
Seasoned salt to taste
Directions:
- Preheat oven to 400 degrees.
- Mix all the ingredients together for 5 – 7 minutes. The dough should be tacky. If the dough is too sticky or too dry, add a bit more flour or water, respectively.
- When done mixing, shape the dough into a large ball and divide into 6-8 pieces. Roll the pieces into balls, lightly cover with olive oil and place on a clean plate. Cover with a clean dish towel or plastic wrap and let rest at room temperature for 10 minutes.
- Using a rolling pin, flatten one dough ball and roll out as flat and even as possible. Using a knife or pizza cutter, divide the dough evenly into cracker-sized pieces.
- Arrange cracker dough pieces on cookie sheets lined with parchment paper. Poke each cracker with a fork a few times to prevent puffing. Sprinkle some kosher salt or sea salt or any other desired toppings and then place into oven.
- Bake until golden-brown and crispy, but not burnt. Allow to cool before eating.
- Repeat the process for the remaining dough balls.
Makes 18 crackers


Pingback: ZeAmazing DIY Cracker Caper | DOOF
Pingback: DIY Kids in ZeKitchen | ZeBot's Kitchen
Pingback: ZeHunger Challenge | ZeBot's Kitchen